Instructors can use Canvas's Pages function to create syllabus subsections. Pages also allow instructors to share content like media and links, which inconvenient to upload as files. If the instructor chooses, classes can use pages as wikis, with all class members adding and editing content.
Modifying the Front Page
1. Open pages by clicking Pages from the navigation menu.

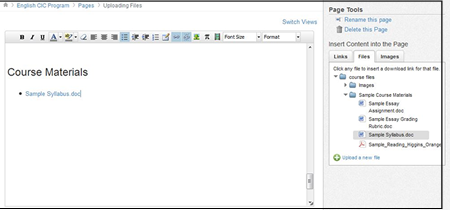
2. Canvas provides a default Front Page you may use as the opening page for your course site or a general index for other site pages. Although you may modify page content, you may not change the name of this default page. Use the Rich Content Editor to type and format text, or copy and paste text from a document file.You may also Insert Content into the Page via the Links, Files and Images tabs on the Page Tools menu.
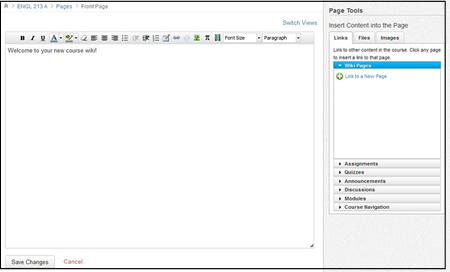
3. Click the Save Changes button.
Creating New Pages
Once you've modified the default Front Page, you may create new pages as follows:
1. Open pages by clicking Pages from the navigation menu.
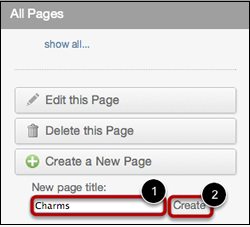
2. Click Create a New Page on the right-hand menu. A New page title box will appear [1]. Type the new page name and click the Create button [2].
Adding Content
Adding Text
Use the Rich Content Editor to type and format text, or copy and paste text from a document file.
Adding Images
Although Canvas's Rich Content Editor features an Image icon that allows you to embed an image from an external web site, image URLs can change, and those changes will cause a broken image link on your page. The best way to insert page images is as follows:
1. Select the Images tab on the Insert Content into the Page menu to the right of the Rich Content Editor screen.
2. If you have already uploaded the image via Canvas's Files page, you'll see a thumbnail version. Click on the thumbnail to insert the image onto your page. You may resize the image by clicking and dragging on its corner.
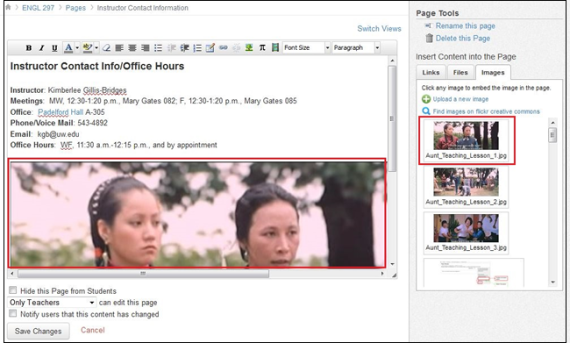
3. If you have not already uploaded the image, choose Upload a new image, Browse to locate the image on your hard drive, place the image in a Folder if you wish and click the Upload button. Your image will appear on the page.
Adding Links
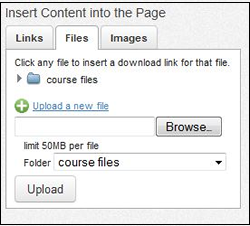
1. To Add Links to Files, select the Files tab on the Insert Content into the Page menu. If you have previously uploaded the desired file, click the folder icons to locate it, click on its title, and a link to the file will appear on your page. If you have not previously uploaded the file, select Upload a New File
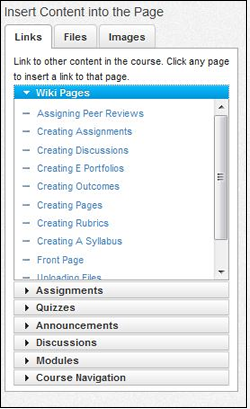
2. To Add Links to Course Materials, select the Links tab on the Insert Content into the Page menu. You will see a list of Pages, Assignments, Discussions, Course Navigation and other materials. Expand the content lists and click on the link title to insert the link onto your page. With the exception of Pages, you must previously create course content before linking to it. You may create a new page from the Links tab by selecting Link to a New Page
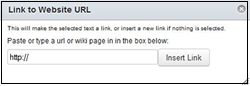
3. To Add Links to External Web Pages, highlight the text you wish to link and click the link icon in the Rich Content editor. Type or copy/paste the link URL in the box that appears and click the Insert Linkbutton.
Page Settings
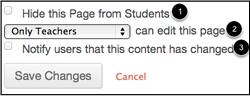
You can choose to hide your page from students by selecting the Hide this Page from Students checkbox [1]. You can decide who can edit the page by selecting the Who can edit this page drop down menu [2]. You can also notify users that content has changed by selecting the Notify users that this content has changedcheckbox [3].
Saving, Editing Deleting
1. To Save a page, click the Save Changes button at the bottom of the screen.
2. To Edit a page, open Pages from the navigation menu, select show all on the right-hand menu to display a list of all pages, and click on the page title. Select Edit this Page to open the page editing screen.
![]()
3. To Delete a page, open Pages from the navigation menu, select show all on the right-hand menu to display a list of all pages, and click on the page title. Select Delete this Page.
![]()